Showing posts with label Pinterest Projects. Show all posts

Tuesday, September 23, 2014

Easy Ham, Egg & Cheese Muffin Cup Breakfast

So I've been seeing lots of recipe posts on Pinterest for Ham & Egg cups. I'm all about finding different breakfast items that make my morning a little easier, that don't result in cold cereal. Don't get me wrong, we still enjoy breakfast cereal, but I like to mix it up - so we get some variety. Who wants to make a full on breakfast every morning. Not this lady! I'm not what you call a morning person. So I was excited to find these recipes for breakfast....easy, custom made to your liking, and you can make a bunch and store them in the fridge for the week. Yes, please!

End result: Delicious and easy!


Ingredients:
Ham (I had a packaged thin sliced honey ham. I used 2 slices per cup, so pending the size of the slice you might only need 1/2 a slice - 2 slices. I'd use black forest ham or similar in the future - just because I'd prefer salt vs. honey)
Eggs (for 6 muffins I used 4 eggs)
Milk 
Various veggies/cheese - veggies, cheese, etc. (I was out of veggies, so it was just cheese)
Various spices - what you normally season scrambled eggs with if any (I use pepper and Tastefully Simple's Onion Onion - basically a flavorful dehydrated onion seasoning)
Non-stick spray


Instructions:
1. Preheat oven to 400 degrees
2. Spray a muffin pan with non-stick spray
3. Line your muffin cups with ham slices
4. Scramble your eggs as you normally would and season if you'd like
5. Add a light layer of cheese & veggies on top of the ham
6. Add scrambled eggs on top and fill to just below top of muffin tin
7. Bake for about 15 minutes (give or take depending on your oven). Bake until eggs are firm
8. Store left overs in the fridge.


Thursday, August 28, 2014

Rosemary Bread Machine Bread

I had another successful run with my bread-machine! I made Rosemary bread using fresh Rosemary from our herb garden at home. It was very easy and the result was a bread similar in taste to the bread they serve at Macaroni Grill. Yum.

I'm missing the black pepper in this picture, but you get the idea.

I found a recipe on Pinterest and made some changes and came up with the recipe below. Of course there is variation from the original recipe! Like I've said in previous posts - I like to bake dangerously, and recklessly abandon recipes!


Rosemary Bread Machine Bread:
  • 1 cup water
  • 3 tablespoons olive oil
  • 2 1/2 cups all-purpose flour (or bread flour)
  • 1 1/2 teaspoons white sugar
  • 1 1/2 teaspoons salt
  • 1/4 teaspoon Tastefully Simple Italian Garlic Bread Seasoning (can replace with  Italian seasoning)
  • 1/2 teaspoon fresh cracked black pepper 
  • 1.5 tablespoons fresh rosemary rough chopped (or 1 tablespoon dried)
  • 1 1/2 teaspoons active dry yeast
Instructions: Add ingredients in the above order to your bread machine.
Bread Machine Settings: 1.5 loaf, white bread, medium crust.

Sunday, August 10, 2014

Olaf (from Frozen) Paper Plate Puppet Pinterest Success!

I had a stack of regular paper plates on hand so I decided to find a quick craft I could make with the boys. I came across this paper plate Olaf (from the movie Frozen) puppet. Roman loves Frozen and loves Olaf...so this was a great kid craft find. My 2.5 year old couldn't help much on this one besides putting the glue on the popcicle stick, but he was extremely excited with the outcome after I had completed it.

Pinterest Success or fail: Success!
Prep: 5-10 minutes
Level of difficulty: Easy 
_________________________________________________

What you need:
* White paper plate
* Black marker
* Orange marker
* Black paper
* Popsicle stick
* Elmer's glue

 
Pinterest find....my model

My copy! Ok, mine is a little more frightening,
but I didn't think it was too bad considering it
was my first attempt.

Under Deck Landscaping and Fenced Kids Play Area

Our yard backs up to a drainage area/man-made wetland. It's beautiful, we love all the birds, and that we don't have neighbors directly behind us, but it can be scary when you are a parent with two toddlers. Our yard is smaller and so fencing it off would mean making it feel even smaller, and fencing off the wetland area seems like it might be an eyesore.

So what is a person to do? After much perusing of Pinterest and seeing various ideas...we came up with our own mish-mash of Pinterest ideas. It took almost a solid day to do and it was hot...but we are loving the outcome. We can now PEACEFULLY play outside! Worth it! Playing in the backyard is now fun for us and them...they think it's a fun play area and we can actually sit down and no more chasing is involved.


BEFORE
As you can see it was lots of weeds, mud, random landscaping rock from the previous owner and our a few kids outdoor toys.


AFTER:
With help from my in-laws and even my 2.5 year old son. We managed to get everything torn out and done in one Saturday. We started at about 6:30am and we were done around 4pm. Not too bad considering it was a very hot day, we stopped for meals, and we had 2 little ones running around. So thankful for this home improvement now. We can actually sit while our kids play outside...a forign concept to us before! The word SIT was not in our vocabulary before with our boys outside. Best of all they LOVE it too.

How we made it happen: 
We cut down all the weeds, dug up sod and leveled out the area as best we could. Then we scattered out the landscaping rock we had back there so it was even. Meanwhile, my mother-in-law laid the stone edgers. Next, we laid down landscaping cloth and topped it off with a thick layer of black mulch. We took picket fence panels and attached them to the support beams of the deck, and where it was needed my father-in-law and husband put in posts and poured some cement to set it. The next day Dustin (my husband) used a gate kit to help build the gate for the fence and added a latch.


The Cucamelon...the what??

Fresh picked from my garden
So I was excited to grow cucumbers in our raised garden this year. I grew them in a community garden one year and managed to keep them alive...so much so, we had them coming out our ears. So this year I decided I would fit them on a vertical trellis in our 4'x4' square foot garden. As luck would have it...I mistakenly did not plant cucumbers. I started noticing the fruit coming in looked more like a watermelon. Turns out I planted Cucamelon! I didn't even know such a thing existed. It's been a delicious mistake! We love this new snack. They taste like a cucumber but with a lemon like flavor to it. They are also nice and crunchy and get no bigger than a small grape tomato...or at least in my garden that's all the bigger they've gotten. Next year I will be sure to plant cucumbers, but I will find a place for these as well!

Melothria scabra is a vine grown for its edible fruit. Fruit are about the size of grapes and taste like cucumbers with a tinge of sourness. Vernacular names include mouse melon, Mexican sour gherkin, cucamelon, Mexican miniature watermelon and Mexican sour cucumber. This plant is native to Mexico and Central America, where it is called sandita (little watermelon).  From Wikipedia, the free encyclopedia


Wednesday, July 16, 2014

My Pinterest Try With Cloud Dough

I had to try it. I've been seeing it around Pinterest and thought it might be fun.

Pinterest Success or fail: Success!
Prep: 5 minutes
Level of difficulty: Easy
_________________________________________________

What is it? 
Flour + Baby Oil = A fun sensory experience that you can mold, and it's fun to play in. My 2.5 year old played for about 45 minutes straight!

How to make it:
1. In a large mixing bowl mix 8 cups flour with 1 cup baby oil
2. Get your hands dirty and mix it with your hands...much easier
    and your hands will be soft afterwards
3. Put it in a cake pan, bin or box
4. Add a few washable toys, cups, etc.


Insider Tips:
* Best to do it outside or in a bathtub, as it can get messy
* Next time I think I'll try vegetable oil and see how that turns out
* You can seal it up in a bag or container when you are done to use another time


Monday, July 14, 2014

Mail Organization - My Mail Center

I was getting tired of all the piles on our counter of miscellaneous papers and mail. Here is my solution and so far it's helped. I used a Thirty-One Fold n' File (but you could use any filing bin) and added some hanging file folders and regular file folders within (for subcategories). To help support the weight and make the folders slide around easier, I used a report cover spine on the sides where the folders hang. I also got a bin for incoming mail. Our system is to put daily mail or other miscellaneous papers into the bin, then when I have a chance I go through it and put it in the Fold n' File organizer. 

My folders include: 
* Mail
     - Bills to pay
     - Review (further reading required or call on)
     - File (stuff to keep in our actual file cabinet)
     - Shred

* Coupons & Menu's (I store take out menus and restaurant & coupons for things other than groceries)

* Kid stuff (art I want to save, classes, & medical stuff)

Friday, July 11, 2014

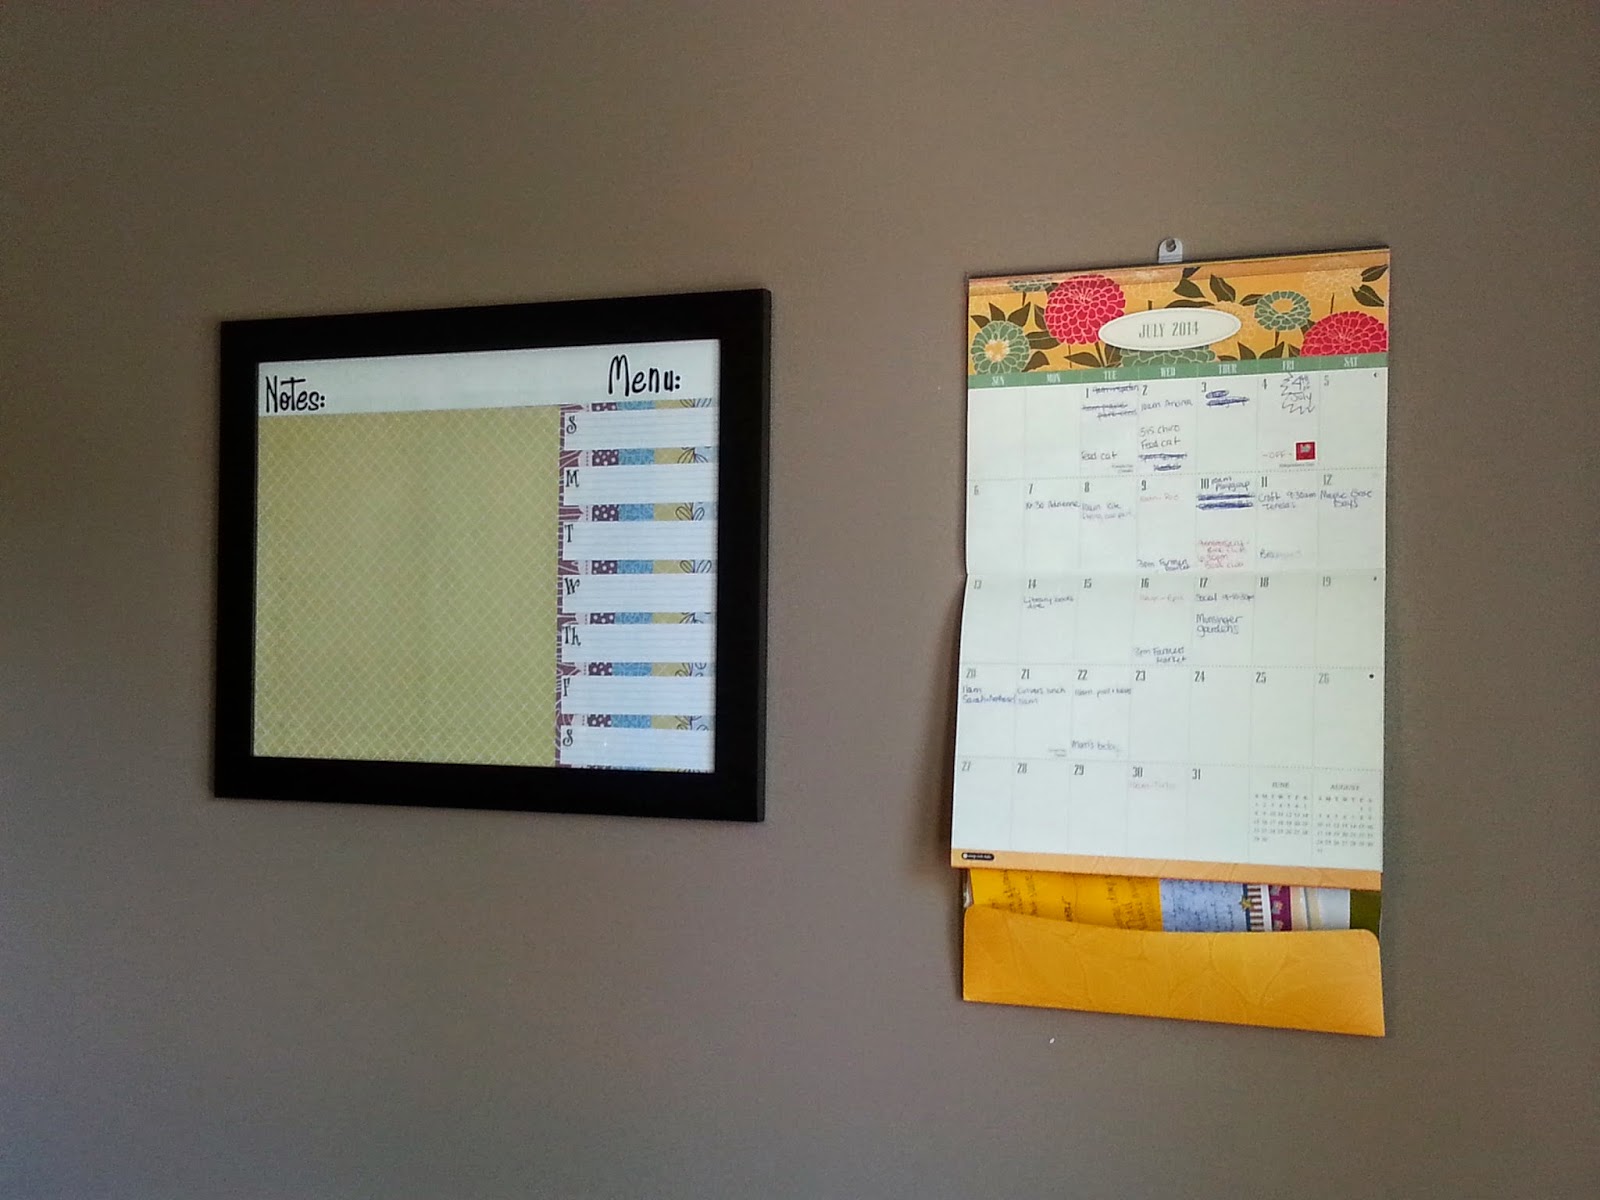
Notes & Menu Whiteboard

My latest Pinterest project was to create a whiteboard for our kitchen. I already have a paper calendar that I use, but my new mission was to have a place I can write reminders, and to plan out our meals for the week. I want to start planning our meals out for the week so I could get rid of my current system - frantically running through the house and scrounging through cupboards at 4pm trying to figure out what I could make for dinner! I did some searching on Pinterest and didn't find exactly what I was looking for, but but I got ideas to create my own board.

Materials: Picture frame with glass, decorative paper, letter stickers, index cards, scissors, white board marker

Level of difficulty: VERY easy

NOTES & MENU WHITEBOARD:

I like to call this my "Command Center." My husband likes to call it my "Crazy Center!"